How to Build an AI Chatbot Using OpenAI and Streamlit in 2025?
Want to build your own AI chatbot without diving into complex machine learning? This hands-on guide will walk you through creating a fully functional chatbot using OpenAI's GPT and Streamlit - all with simple Python code. Whether you're a developer, student, or founder exploring AI, this is the perfect place to start. Let’s bring your chatbot idea to life, fast, fun, and beginner-friendly.

If you've ever wanted to build your own AI chatbot, you're in the right place. In this guide, I’ll walk you through how to create a fully functional chatbot using OpenAI's GPT API and Streamlit—a Python framework that makes building web apps easy, even if you're not a frontend developer.
By the end of this blog, you'll not only understand how to build a chatbot but also get insights into deploying it, improving its features, and using it for real-world applications like support bots, personal assistants, or AI-powered knowledge bases.
Let’s dive in.
Why 2025 is the Perfect Year to Build an AI Chatbot
In 2025, we’re seeing a massive shift. From startups to enterprises, businesses are integrating AI chatbots for everything—customer support, HR onboarding, data search, even therapy apps. With GPT-4-turbo offering fast, cost-effective responses and Streamlit allowing rapid UI prototyping, there's never been a better time to get started.
Whether you're a developer, student, or tech founder, building a chatbot is now more accessible than ever.
Tools You’ll Need
Before we start coding, let’s set up your toolkit:
- Python 3.10+
- OpenAI API key
- Streamlit (Python library)
- Basic familiarity with Python (if/else, functions,
pip install)
Step 1: Set Up Your Project
First, create a new folder for your project and open it in your favorite code editor (like VS Code).
Then, in your terminal, run:
pip install openai streamlit python-dotenvThis installs the three main packages:
- openai: For accessing GPT models
- streamlit: For the chatbot UI
- python-dotenv: For managing your API keys securely
Create a file called .env and add your OpenAI key:
OPENAI_API_KEY=your_openai_api_key_hereThen, create a Python file: app.py.
Step 2: Write the Basic Chat Logic
In app.py, start with basic imports and a function to talk to OpenAI’s API:
import openai
import streamlit as st
from dotenv import load_dotenv
import os

load_dotenv()
openai.api_key = os.getenv("OPENAI_API_KEY")

def generate_response(prompt):
    response = openai.ChatCompletion.create(
        model="gpt-4",
        messages=[
            {"role": "system", "content": "You are a helpful assistant."},
            {"role": "user", "content": prompt}
        ]
    )
    return response["choices"][0]["message"]["content"]
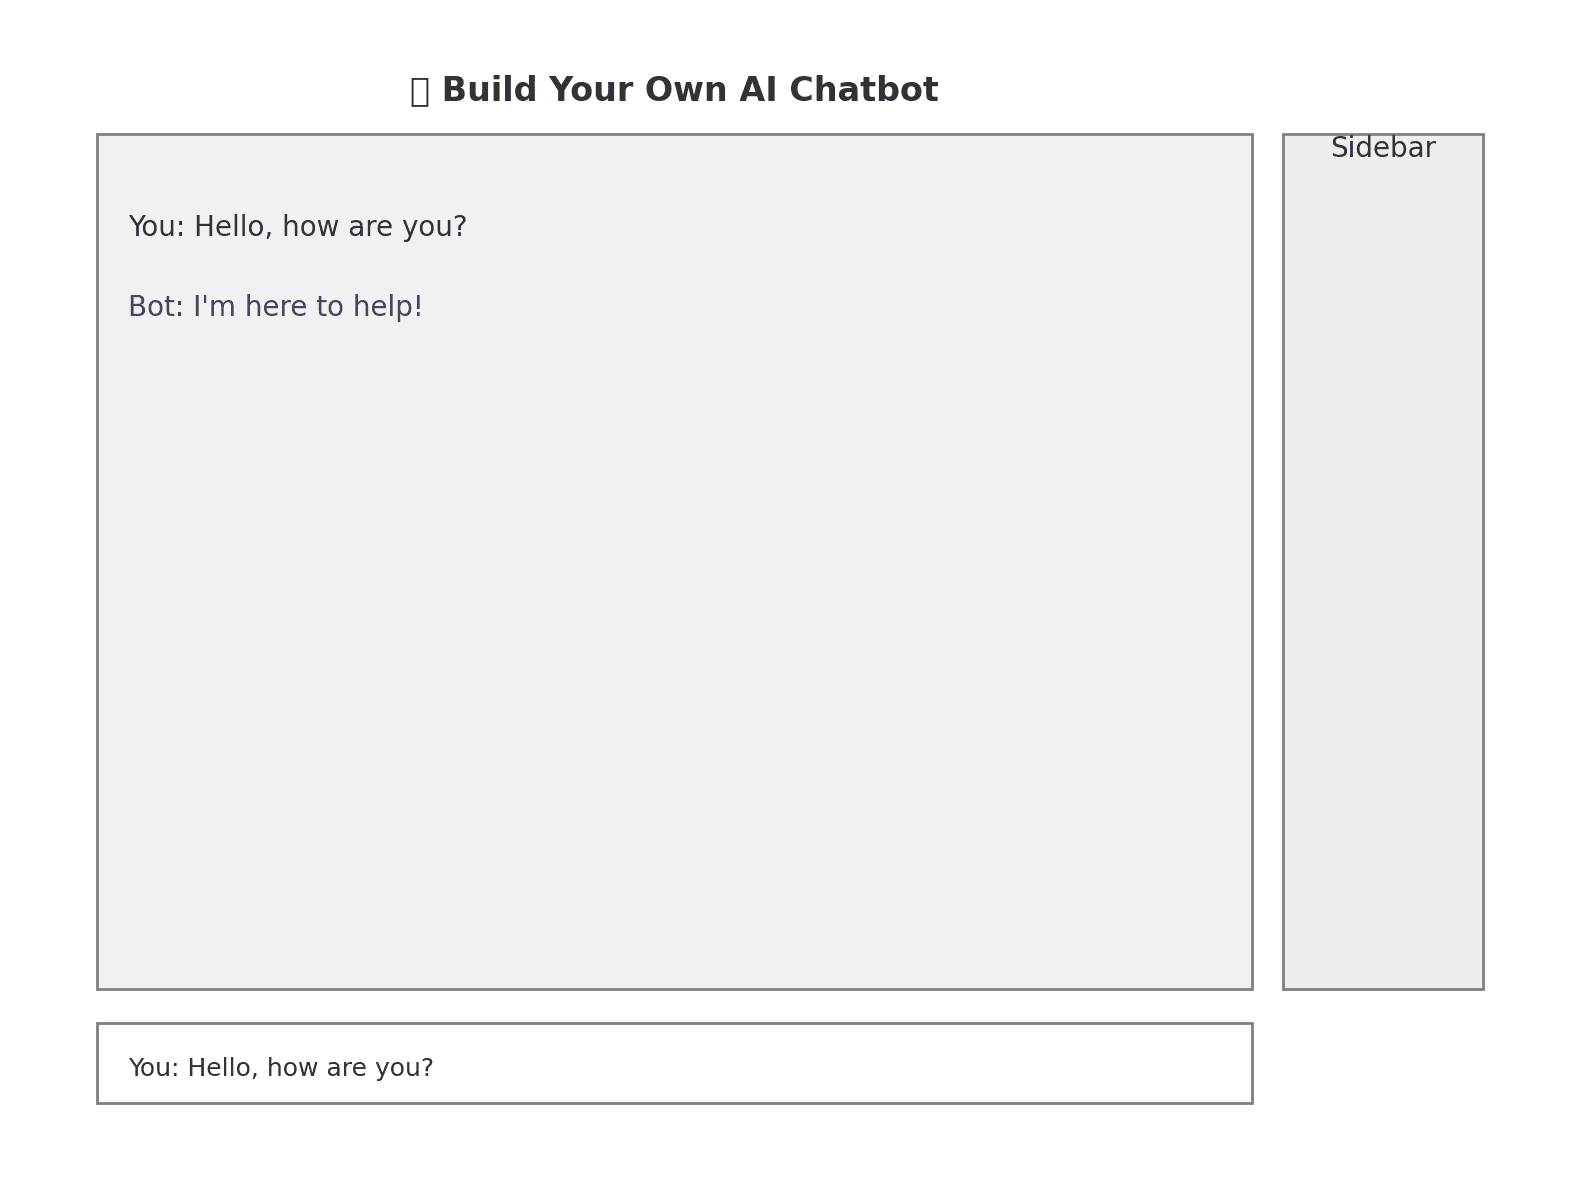
Step 3: Create the Chat UI with Streamlit
Now, let’s build the user interface:
st.set_page_config(page_title="AI Chatbot", layout="wide")
st.title("Build Your Own AI Chatbot")

if "chat_history" not in st.session_state:
    st.session_state.chat_history = []

user_input = st.text_input("You:", "Hello, how are you?")

if st.button("Send") and user_input:
    response = generate_response(user_input)
    st.session_state.chat_history.append(("You", user_input))
    st.session_state.chat_history.append(("Bot", response))

for sender, message in st.session_state.chat_history:
    st.markdown(f"**{sender}:** {message}")
Save the file and run it with:
streamlit run app.pyYou’ll see your chatbot UI instantly in the browser. Simple, right?
Step 4: Improve the UX (User Experience)
Let’s polish it a bit:
- Add a sidebar with your OpenAI key input
- Use
st.spinner()while waiting for a response - Allow resetting the chat history
Example:
with st.sidebar:
    st.header("Settings")
    openai.api_key = st.text_input("Enter OpenAI API Key", type="password")
    if st.button("Reset Chat"):
        st.session_state.chat_history = []
Add a spinner to the generate_response function:
with st.spinner("Thinking..."):
    response = generate_response(user_input)
Now it feels more polished and professional.
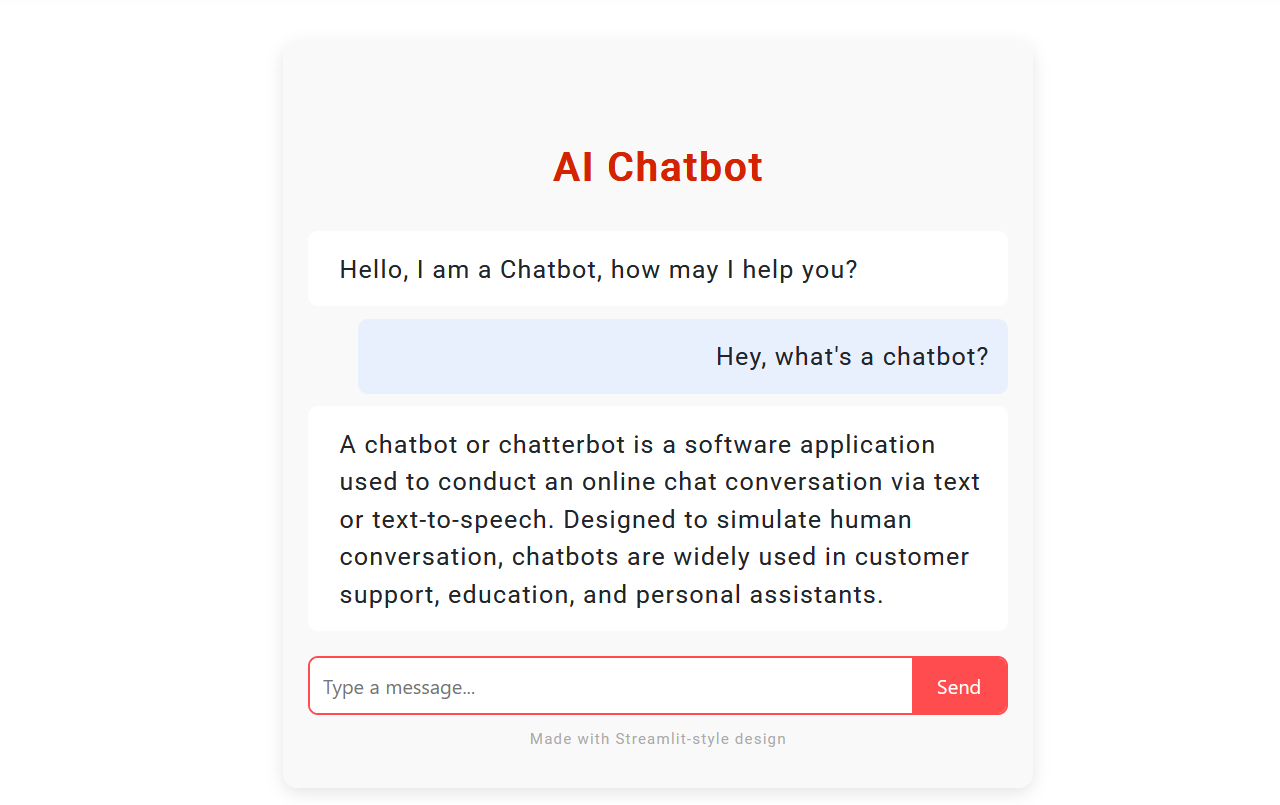
Step 5: Customize the Bot’s Personality
Want a quirky assistant? Or a formal business bot? Just tweak the system message in the API call:
{"role": "system", "content": "You are a witty assistant who loves science facts."}Try different personalities and see how your bot responds.
Step 6: Deploy Your Chatbot
You have two easy, free options:
Streamlit Cloud
- Just push your code to GitHub
- Go to streamlit.io/cloud
- Connect GitHub and deploy in minutes
Hugging Face Spaces
- Another free platform for Streamlit apps
- Great community visibility
What’s Next: Upgrades You Can Add
Here are some ideas for making your chatbot more powerful:
- Add Memory: Use a vector database like Weaviate or ChromaDB
- LangChain Integration: If you want tools, search, or function calling
- Authentication: Only logged-in users can use the bot
- Multi-user chat logs: Save chats per user
- Slack/WhatsApp Integration
Each of these is its own tutorial. Let us know if you want guides for them!
Real-World Use Cases
- Customer Support Bot: Answer common queries 24/7
- Internal Knowledge Assistant: For employees to query internal docs
- Lead Qualifier: Ask questions, gather lead data, and score them
- Learning Assistant: Help students revise or explain topics
Frequently Asked Questions
What is the easiest way to build an AI chatbot?
Using OpenAI’s GPT API with Streamlit is one of the easiest ways to build an AI chatbot in 2025. It requires minimal code and no frontend development experience.
Is Streamlit good for building AI apps?
Yes, Streamlit is perfect for building quick, interactive AI prototypes. It’s especially great for developers who want to build tools without worrying about frontend code.
How much does it cost to run an OpenAI chatbot?
Costs vary based on the GPT model used and the number of tokens processed. GPT-4-turbo is more affordable than GPT-4. You can start small and scale as needed.
Can I deploy my chatbot for free?
Yes, you can deploy your chatbot using free platforms like Streamlit Cloud or Hugging Face Spaces. Both allow you to share your chatbot publicly or privately.
Do I need to know machine learning to build this chatbot?
No, you don’t need ML knowledge. This guide uses APIs and tools that handle the AI for you. All you need is basic Python skills.
Can I use this chatbot for real users or business use?
Yes, with some upgrades like user authentication, logging, and error handling, this chatbot can be used for real applications like customer support, lead gen, or internal tools.
Final Thoughts
You’ve just built your first AI chatbot using OpenAI and Streamlit. That’s huge!
In 2025, it’s not just about using AI—it’s about creating with AI. This project is your first step into a bigger world where you can build tools that assist, automate, and delight.
If you enjoyed this, share it with your friends or drop us a message. We’d love to see what you build!
Ready to Build a Production-Grade Chatbot?
We at Zestminds help startups and enterprises turn ideas into smart AI tools.
If you’re looking to build a custom chatbot or integrate AI into your product—let’s chat!
Contact our Generative AI team
Stay curious. Keep building. The future is AI—and it’s yours to shape.
Chatbot case study
Shivam Sharma
Before You Scale Further, Review the Architecture.
Let’s evaluate where your system stands — and where it may break under growth.
Schedule an Architecture Review 30-minute technical discussion. No obligation.